
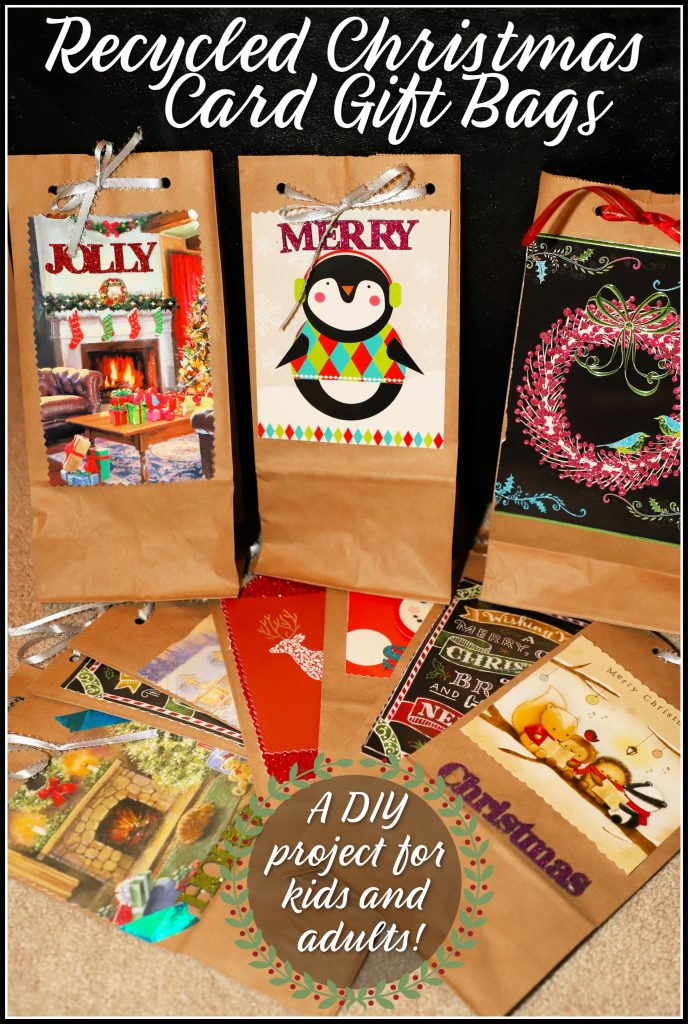
This fun craft project repurposes your old Christmas cards as decorations for custom DIY gift bags!
Kids and adult love making and receiving these thoughtful decorated bags for presents the next Christmas season.
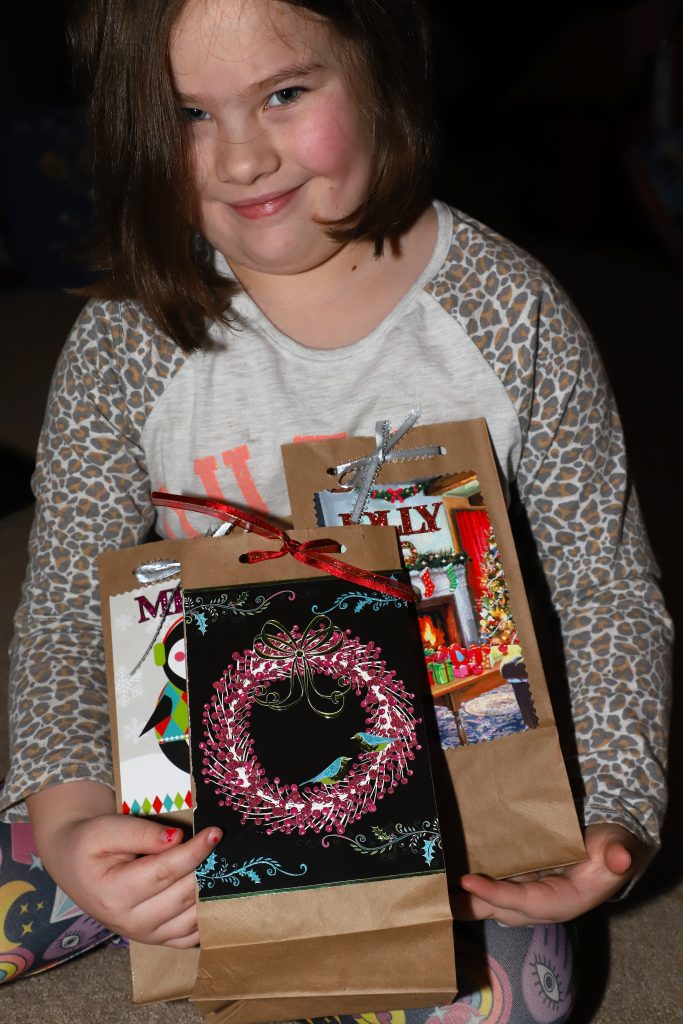
My Ava is my crafty child and she loves making gifts for her friends and family. This was a fun crafts to make together.
I cannot wait to give them to our family next Christmas!

What you need:
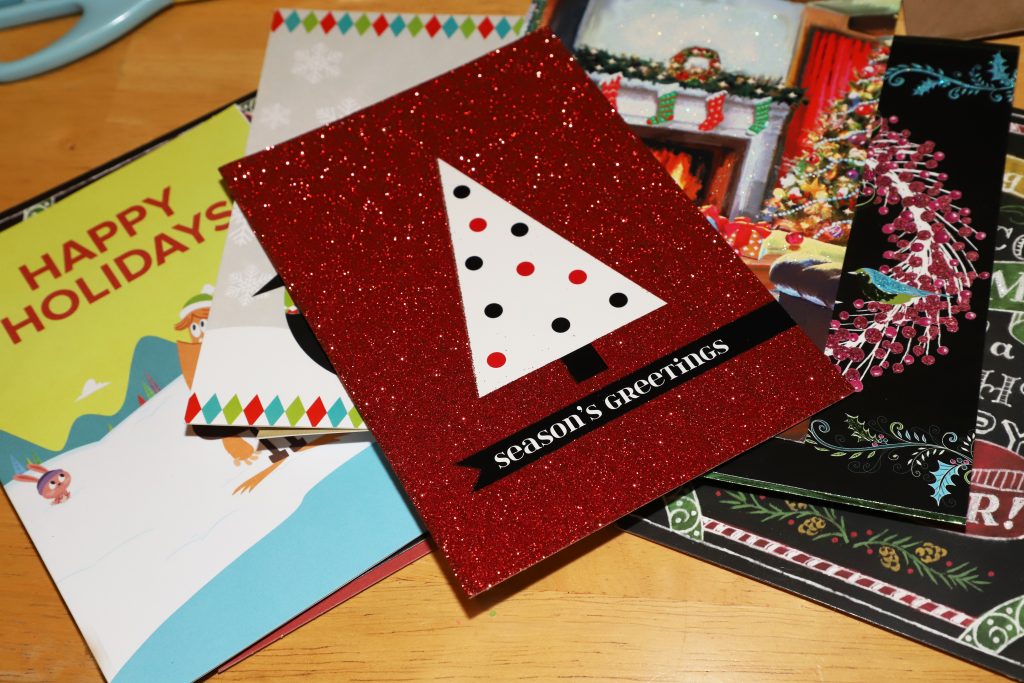
- Christmas cards {non picture}
- brown or white paper sack bags
- glue stick
- hole punch
- ribbon or yarn
- scissors
Directions:
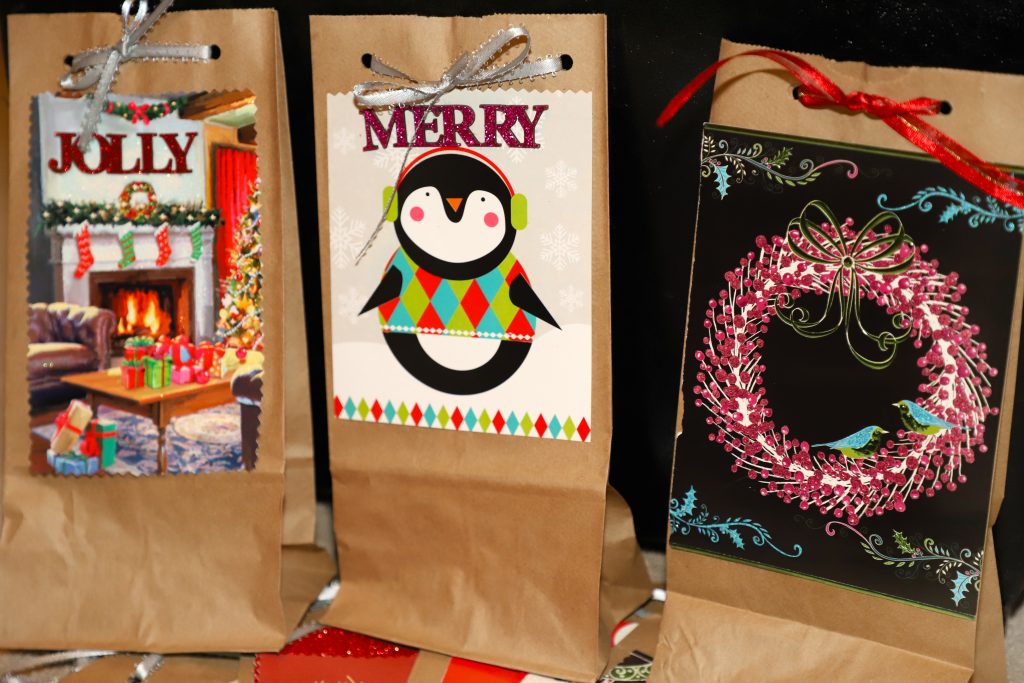
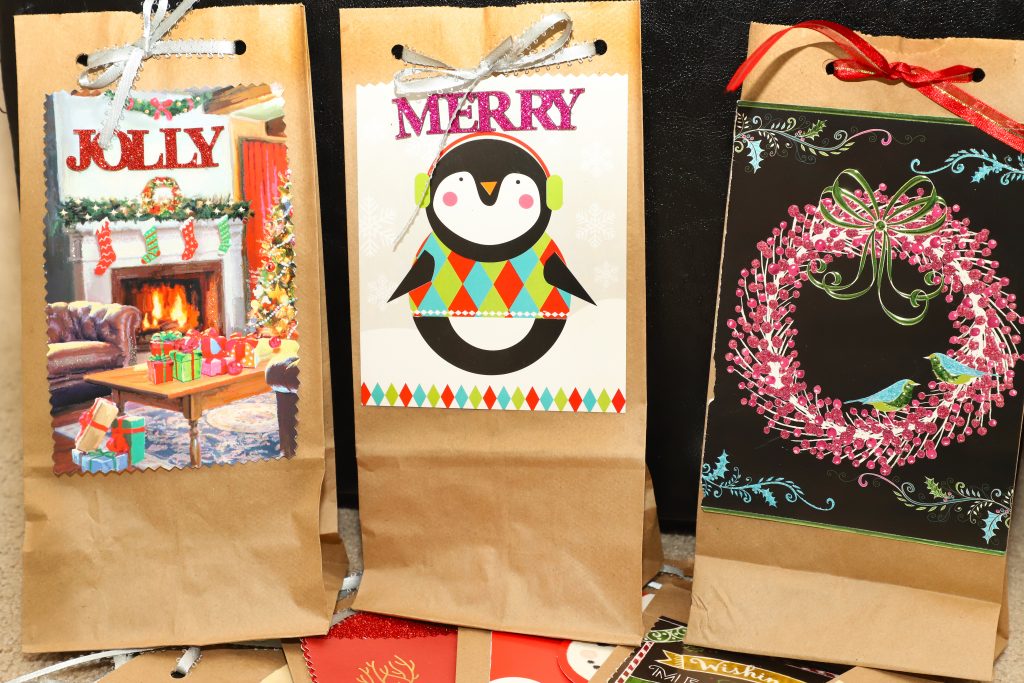
- Cut all cards down, whether vertical or horizontal, to squares so they fit on the front of the paper bag. Remove the back page if a folded card.
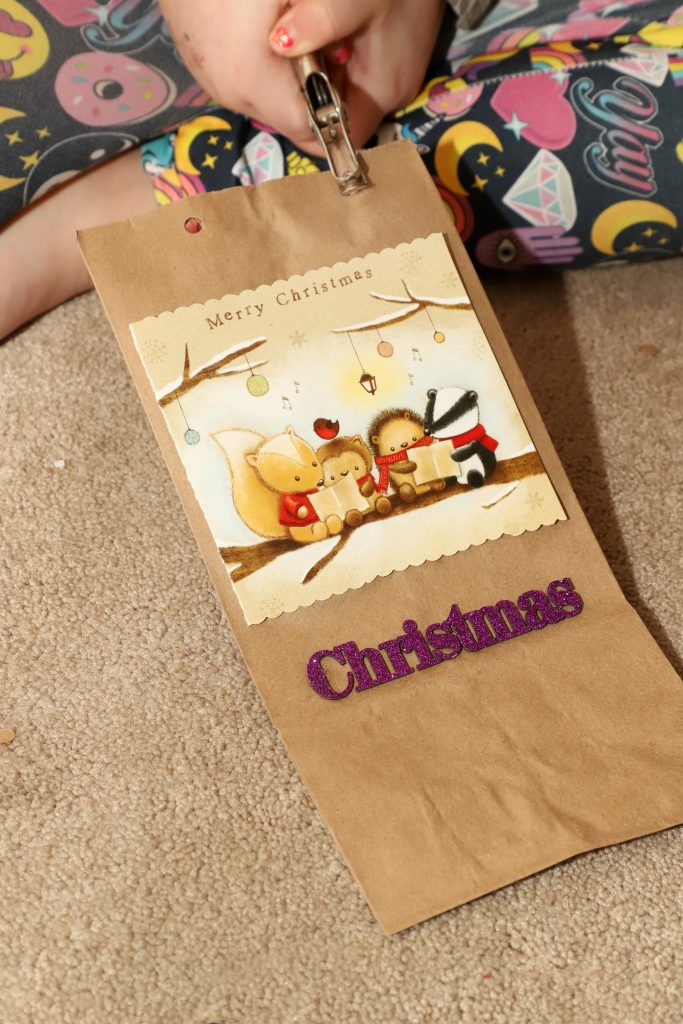
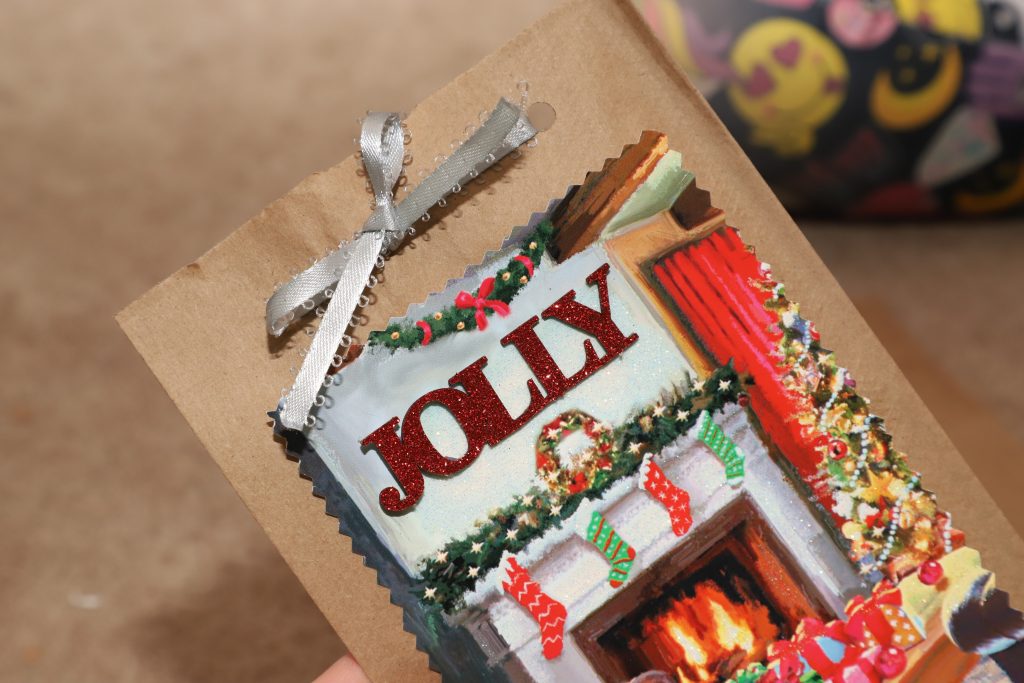
- Add glue to the back the card image and press the card onto the front center of each bag.
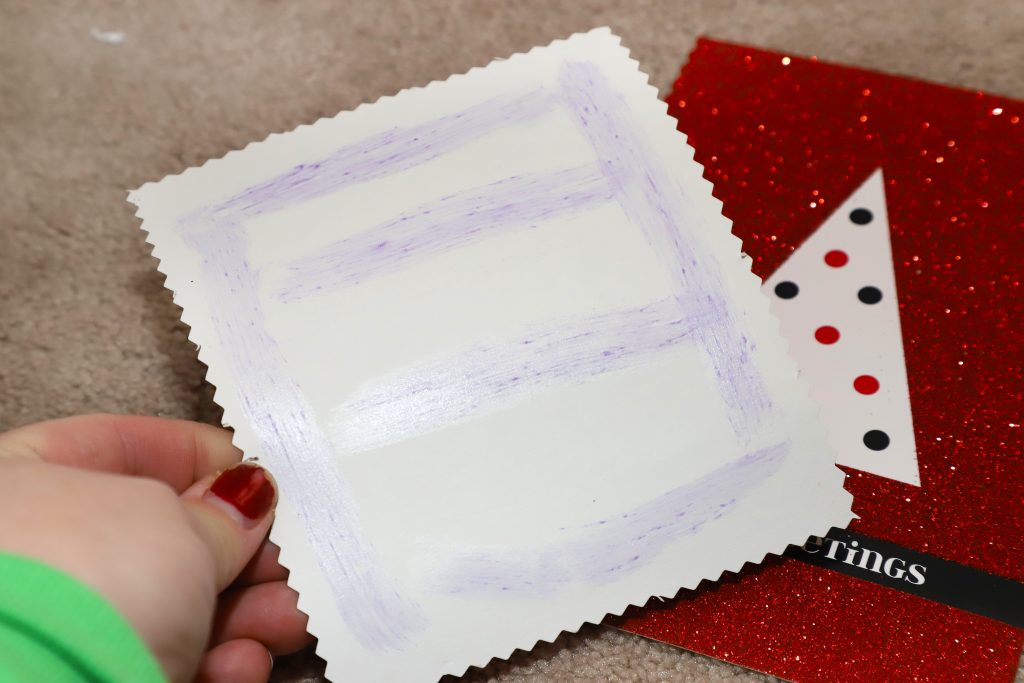
- For some cards that did not have text I glued on glitter decorations and wording to the cards.
- Punch two holes, spaced apart in the top of the bags.
- Loop yarn or ribbon through the holes and tie a bow.
- You can decorate the bags more if you’d like with glitter glue, stamps, glitter cardstock, or gift tags.
- I store these folded flat with my gift wrap and use them the next Christmas season.
- To use, untie and open each bag then fill and tie closed.

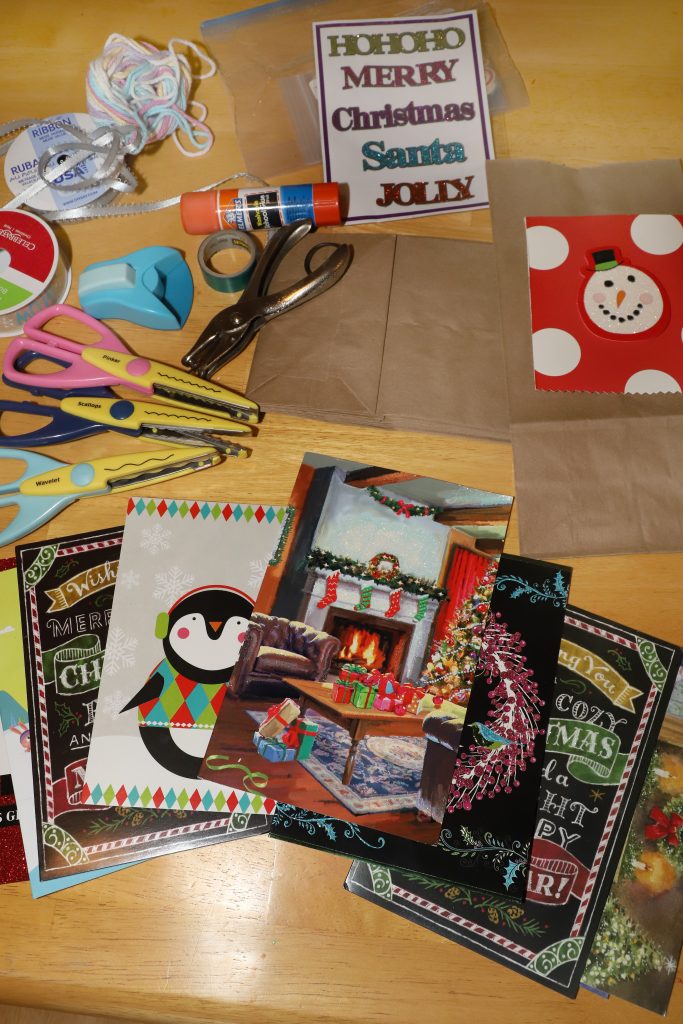
First set out all your supplies including cards, bags, glue, ribbon, and scissors.
Cut all cards down, whether vertical or horizontal, to squares so they fit on the front of the paper bag.
Remove the back page if a folded card.
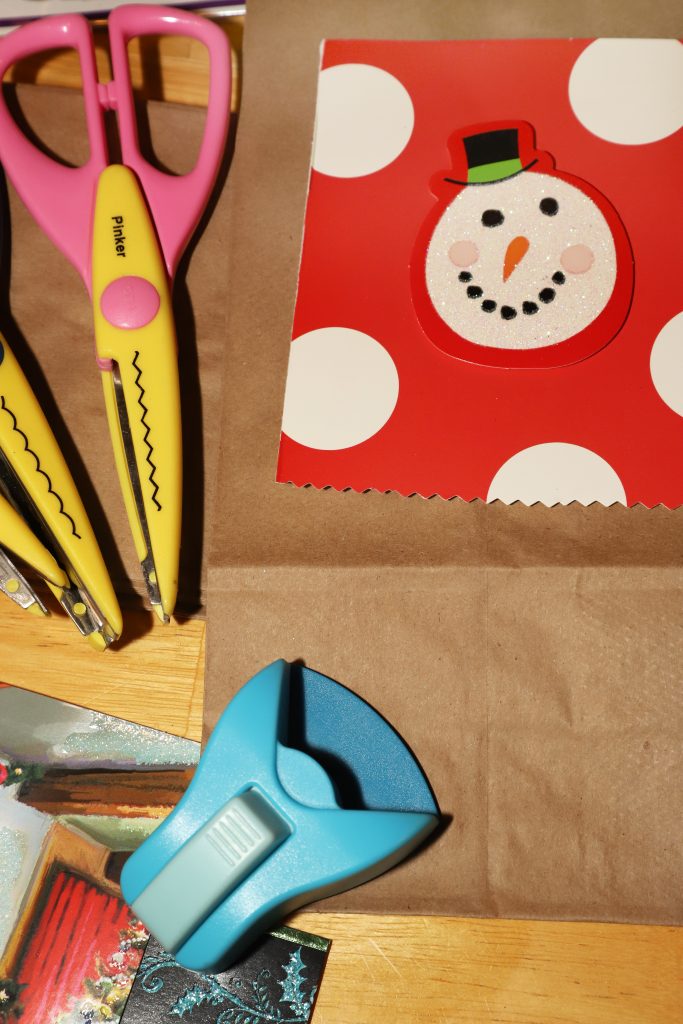
I like to use craft scissors to make decorative edges or my cutter that makes round corners.
Add glue to the back the card image and press the card onto the front center of each bag.
For some cards that did not have text I glued on glitter decorations and wording to the cards or bag.
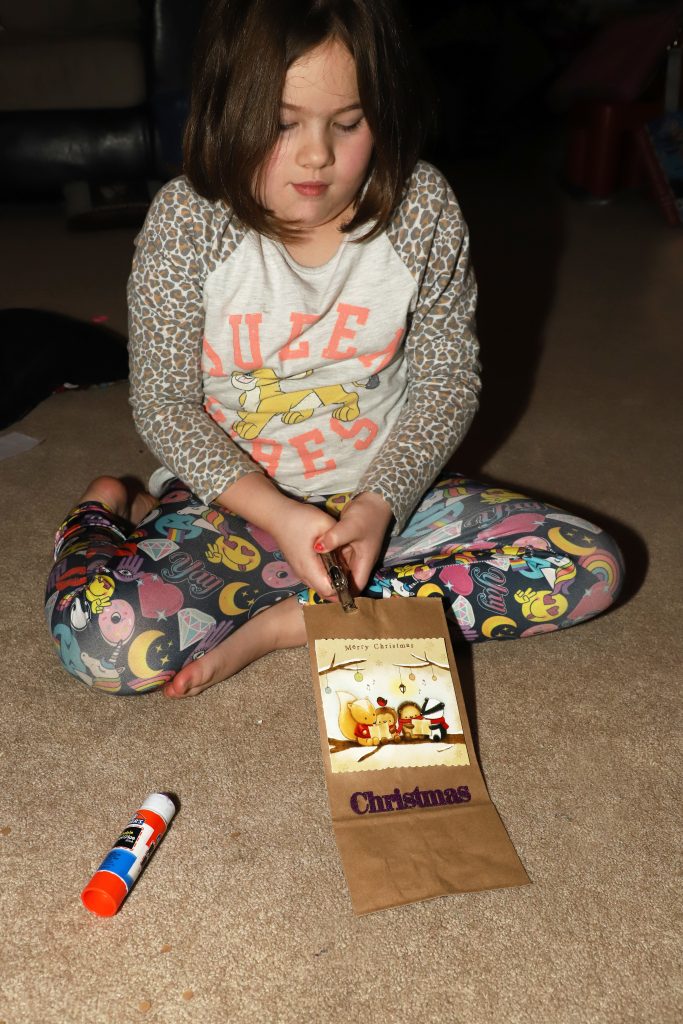
Punch two holes, spaced apart in the top of the bags.
Loop yarn or ribbon through the holes and tie a bow.

You can decorate the bags and cards more if you’d like with glitter glue, stamps, glitter cardstock, or gift tags.

I store these folded flat with my gift wrap and use them the next Christmas season.
To use, untie and open each bag then fill and tie closed.


These bags are both a thoughtful handmade gift and a great way to recycle and repurpose cards!


Leave a Reply