

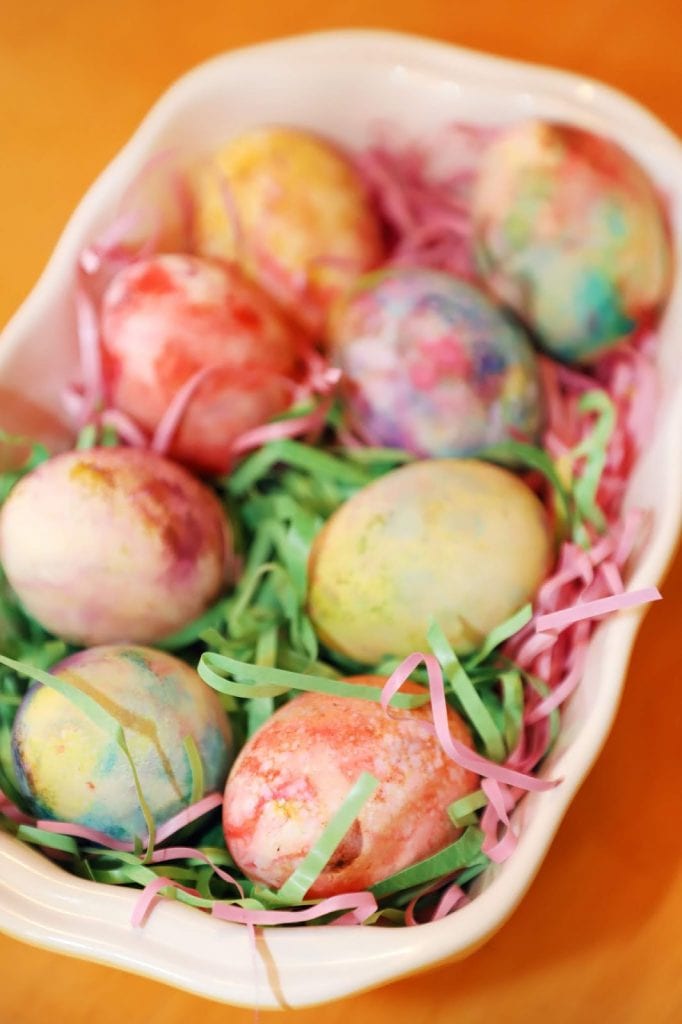
We love dying eggs and making Easter crafts, and this year I decided to try something different: Rainbow Whipped Cream Dyed Easter Eggs.
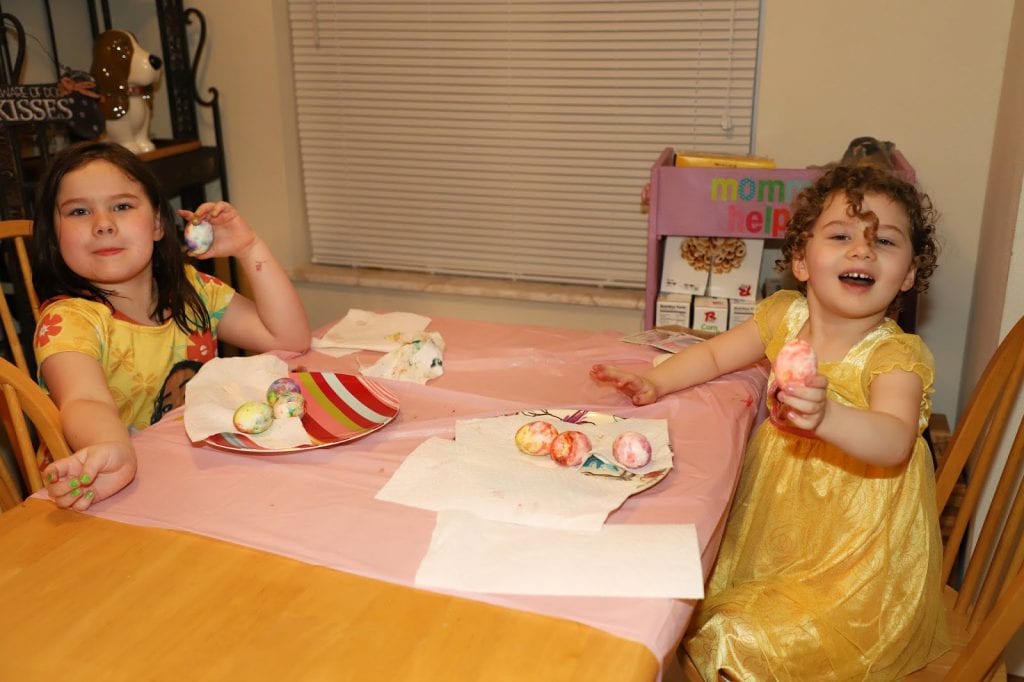
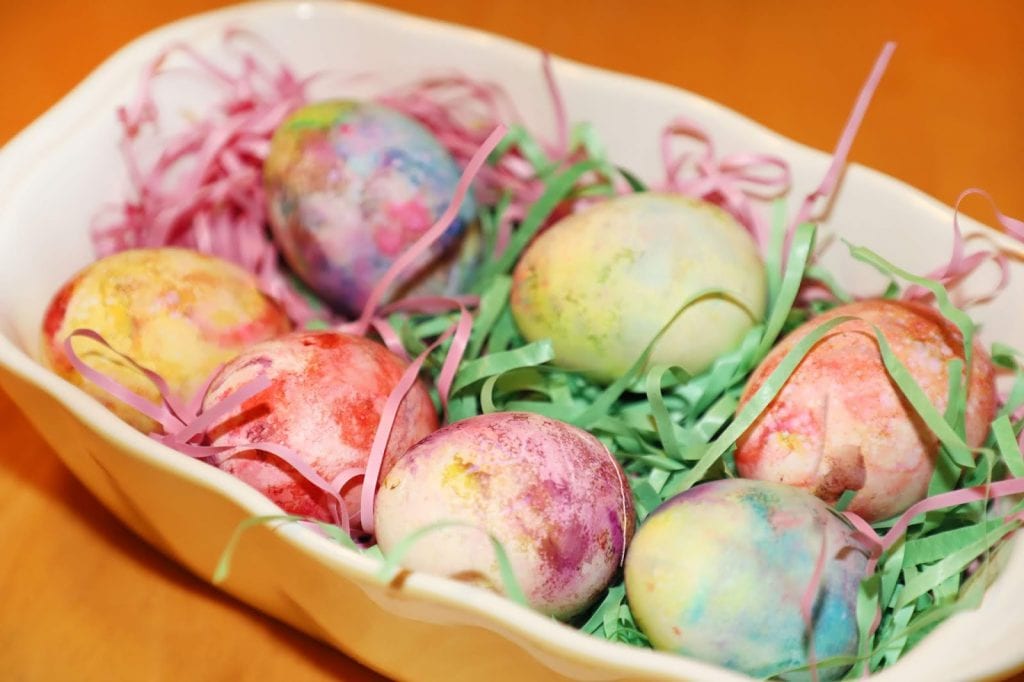
The girls loved making them and I love the pretty watercolor like swirls of color on the eggs. They also did not sweat off the colors like traditional dyed eggs. Check out the steps below!


Rainbow Whipped Cream Dyed Easter Eggs
Ingredients
- 12 hard boiled eggs
- White vinegar
- 3 cups whipped cream or Cool Whip thawed
- Neon food coloring
Instructions
- Place eggs in a bowl and cover with vinegar.
- Soak for a couple minutes then remove and pat dry. This help the colors be brighter.
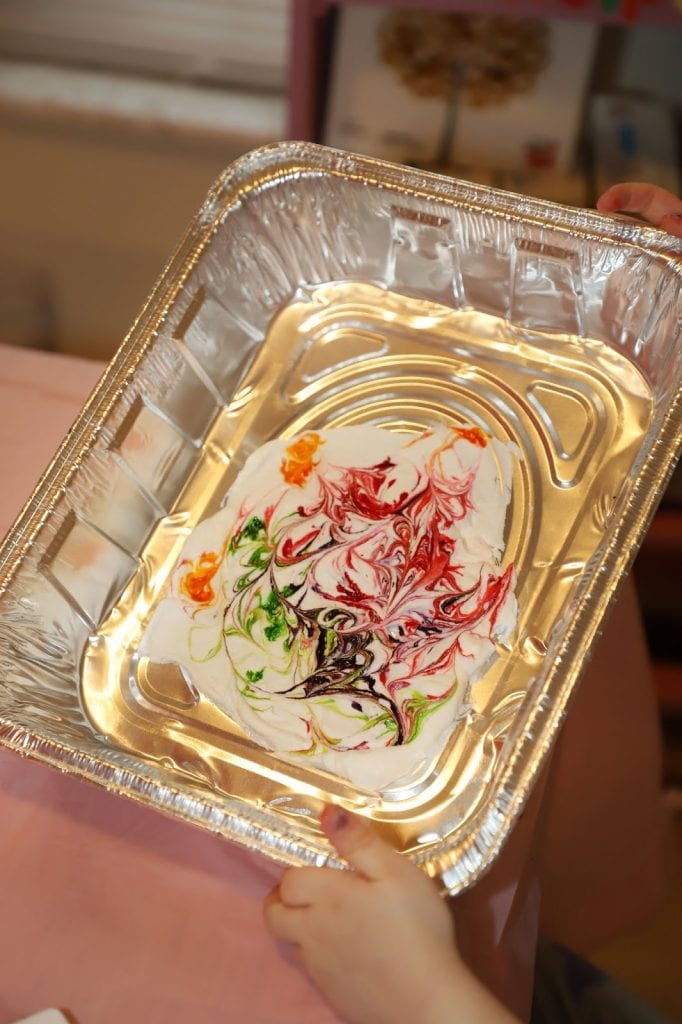
- Add whipped cream to a large container or baking sheet. Spread in a thick even layer.
- Drop neon food color in dots all over in multiple colors.
- Use a toothpick to swirl the colors to get a marbled effect. Do not over mix.
- Roll eggs in the colored mixture, coating completely.
- Place in the fridge for 30 minutes.
- Rinse the eggs and wipe off excess with paper towels.
- Let dry completely and then display and enjoy!
Did you make this Recipe?Tag @flchefnicole or hashtag #fortheloveoffoodblog
For The Love of Food Blog

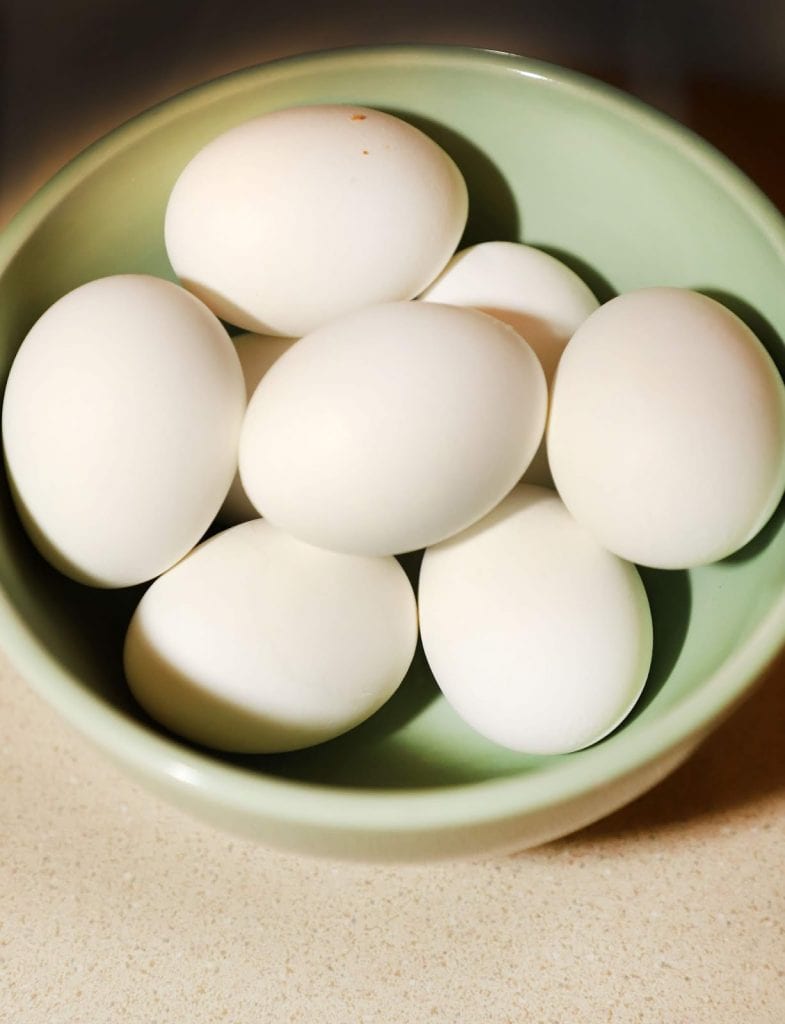
Start with 1 dozen boiled eggs.
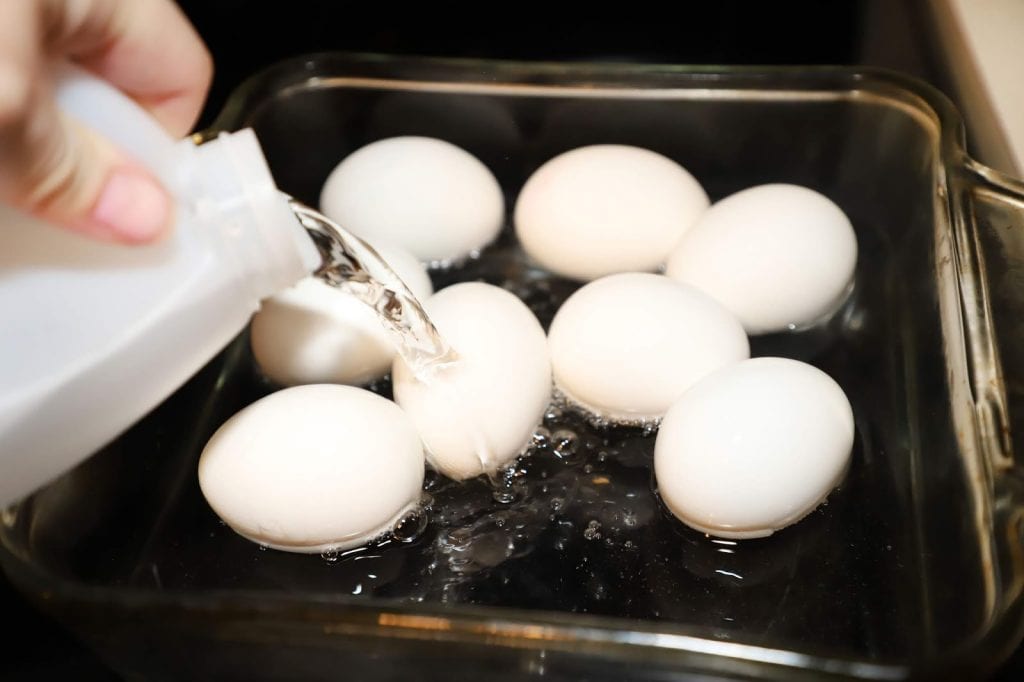
Add them to a bowl or dish and cover with white vinegar.
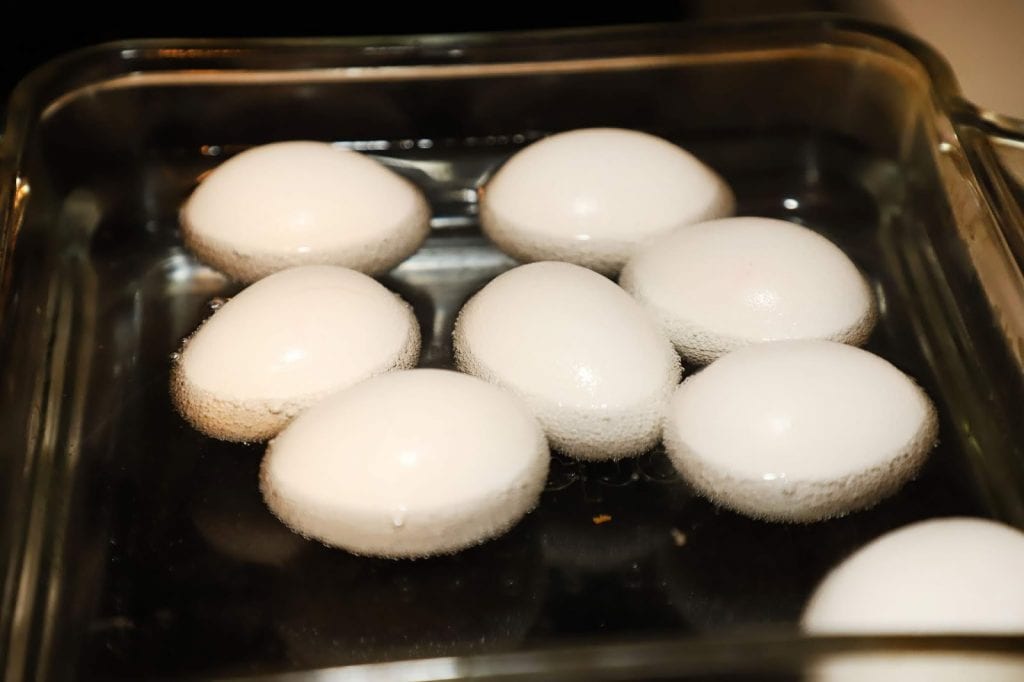
Let soak for 2-3 minutes in vinegar then remove and at eggs dry.
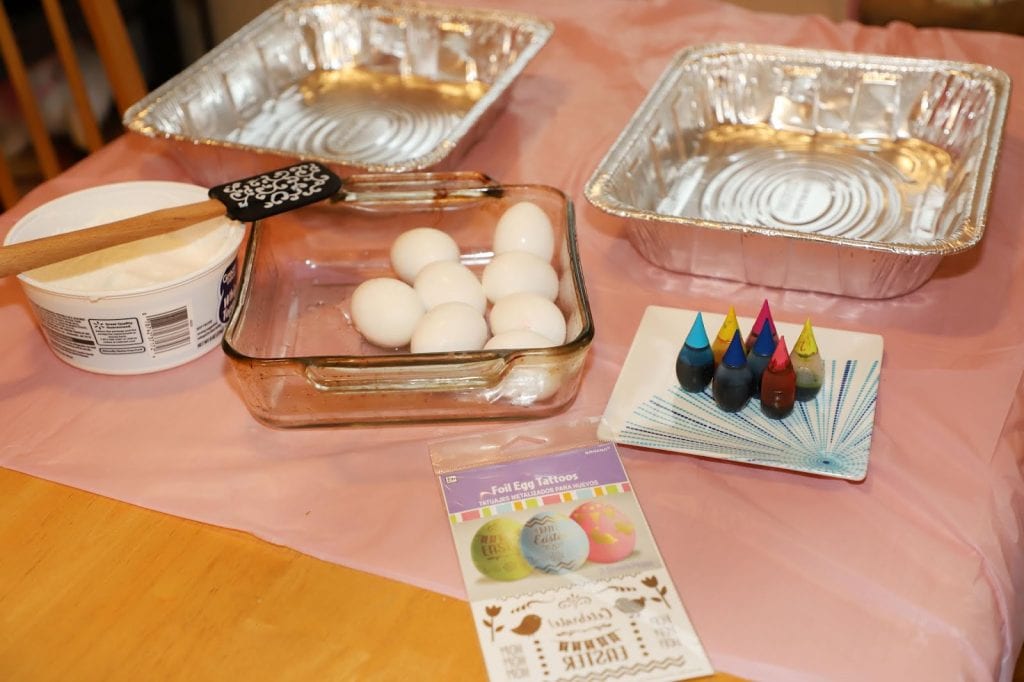
I set up my egg dying station so the kids will be ready to go.
Some tips: use disposable containers to roll the eggs in the whipped cream and cover the table with a reusable tablecloth.
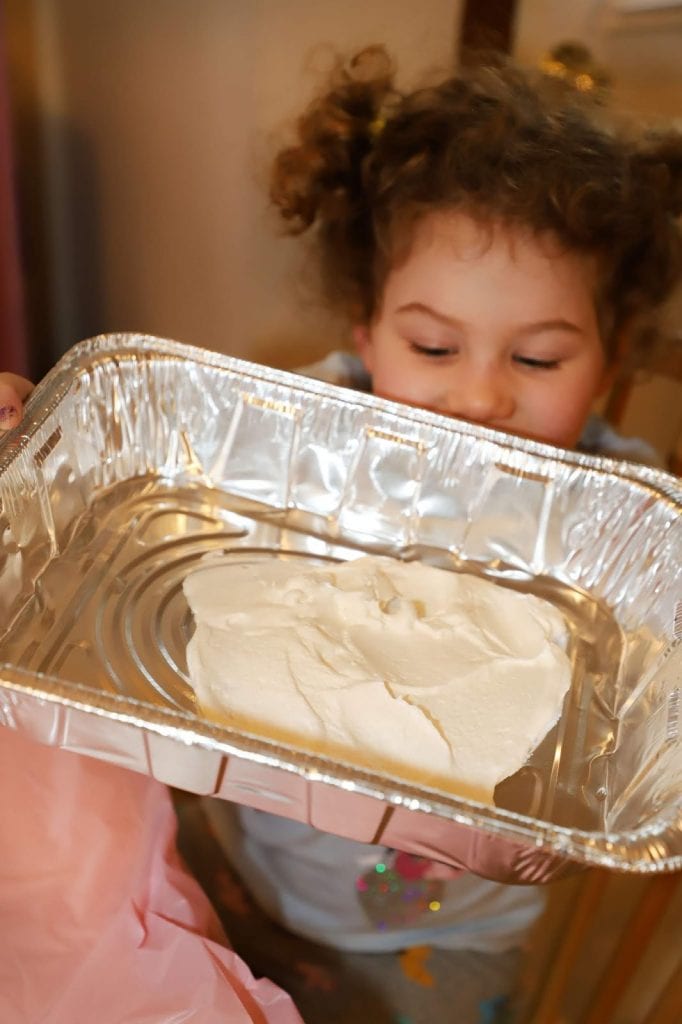
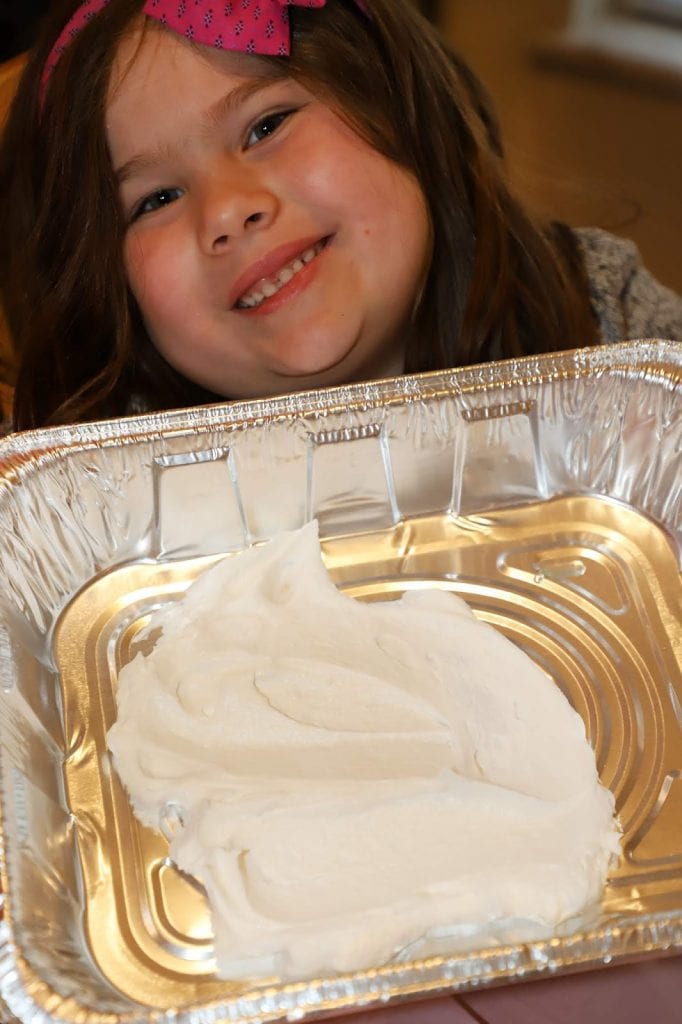
Add whipped cream to each container or plate and spread in a thick, even layer.
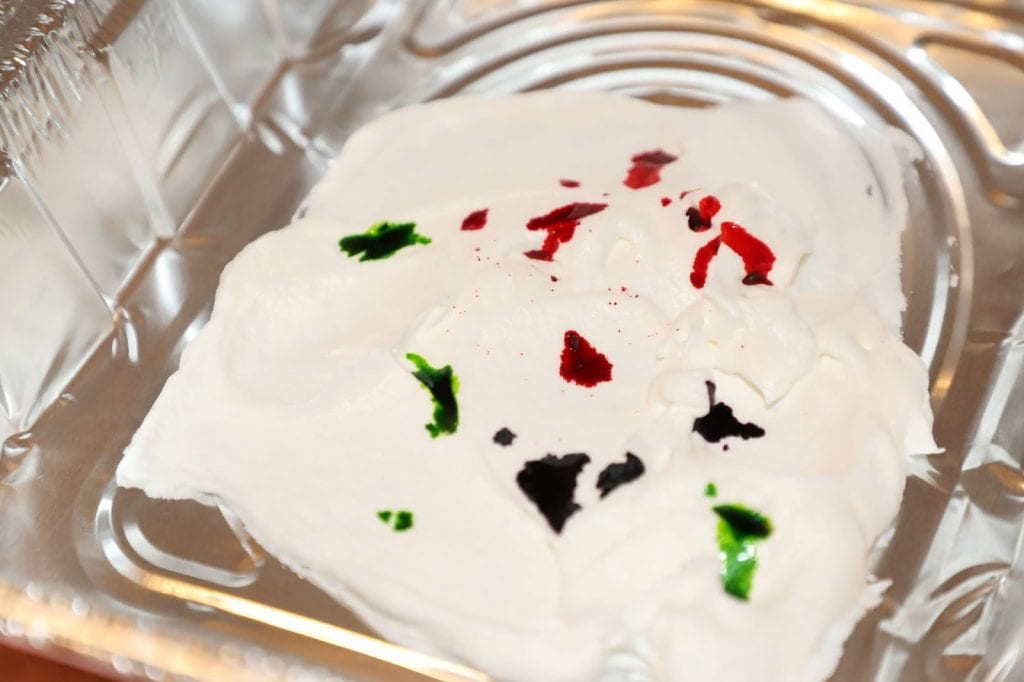
Drop neon food color in dots all over in multiple colors.
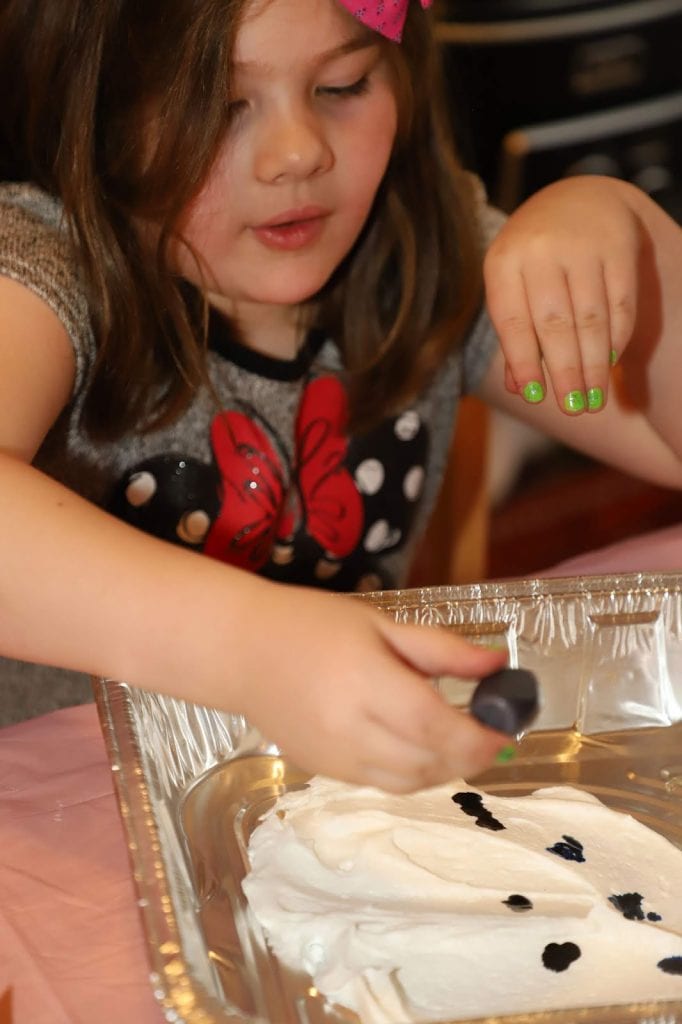
I used neon because it showed up brighter.
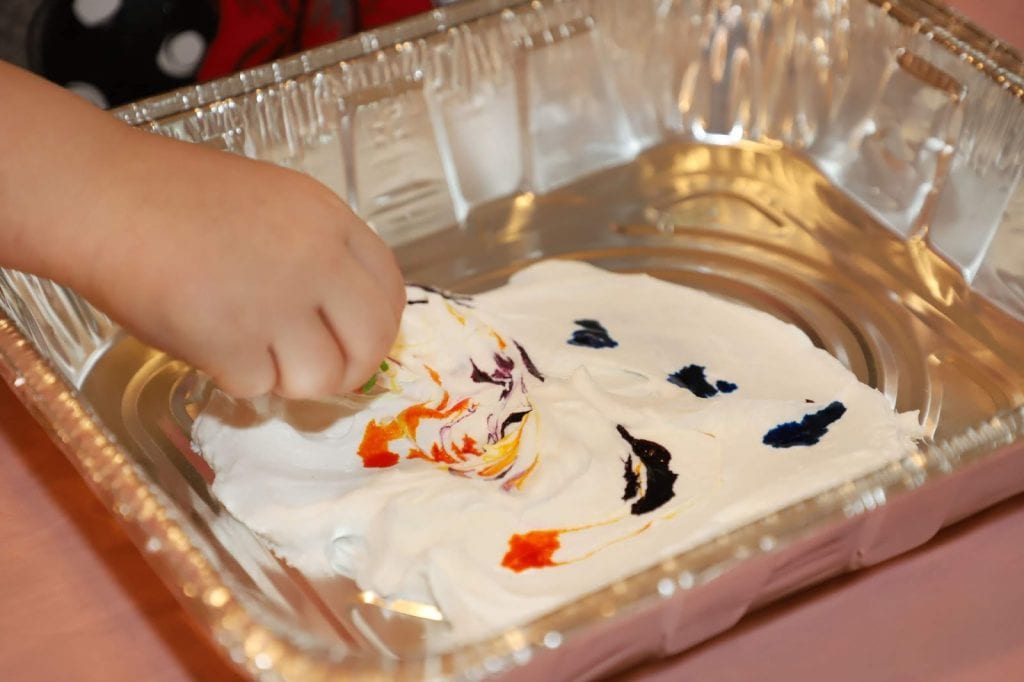
Use a toothpick to swirl the colors to get a marbled effect.
Do not over mix.

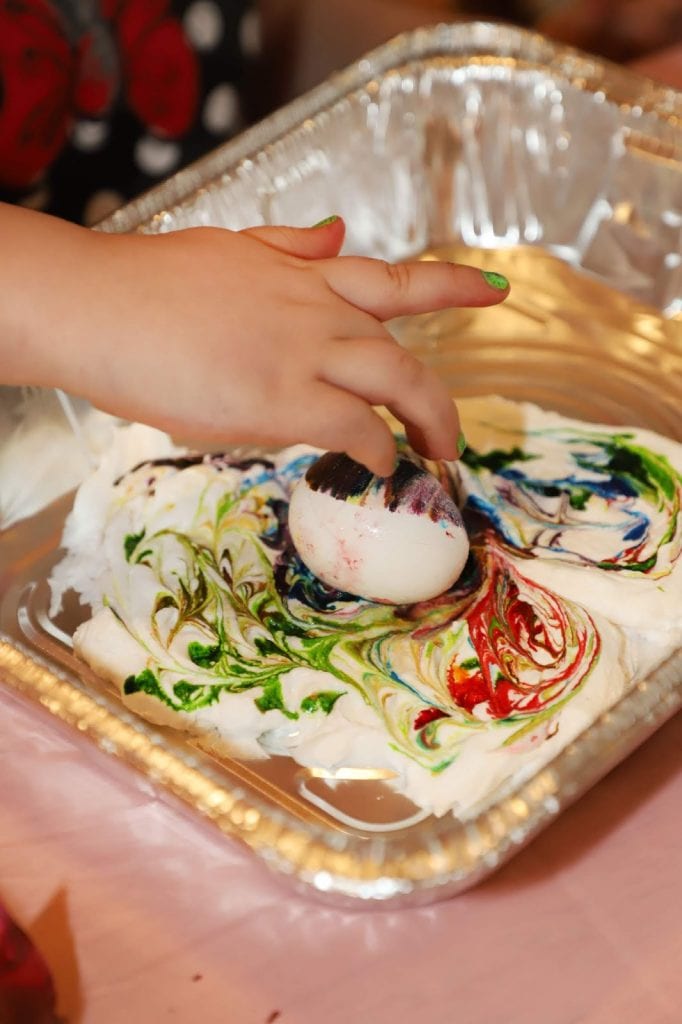
Roll eggs in the colored mixture.
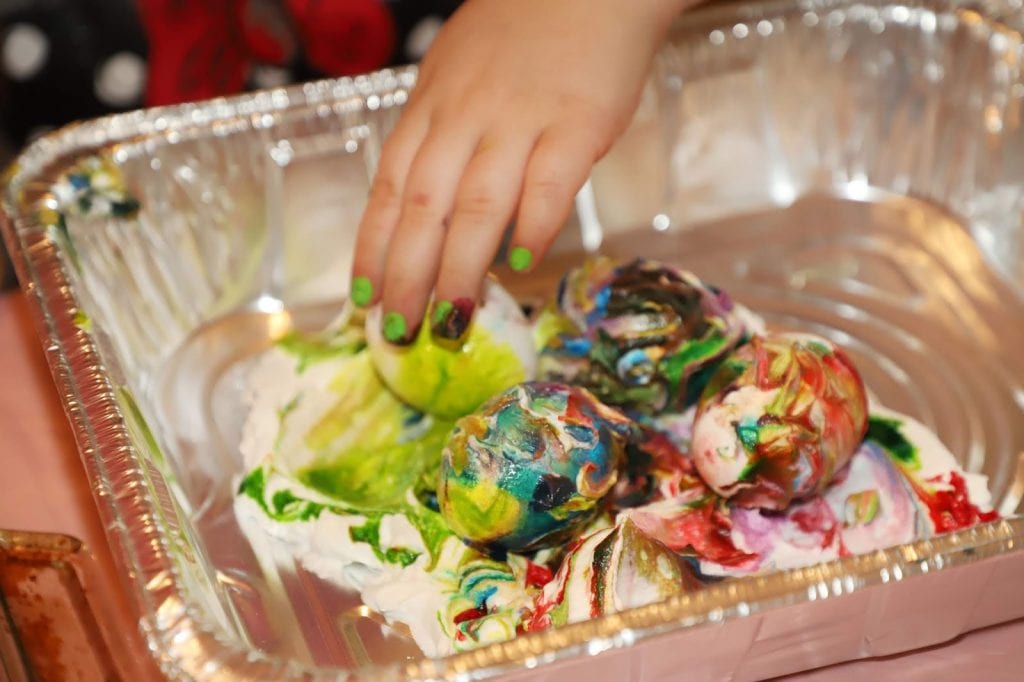
Coat the eggs completely then set aside.
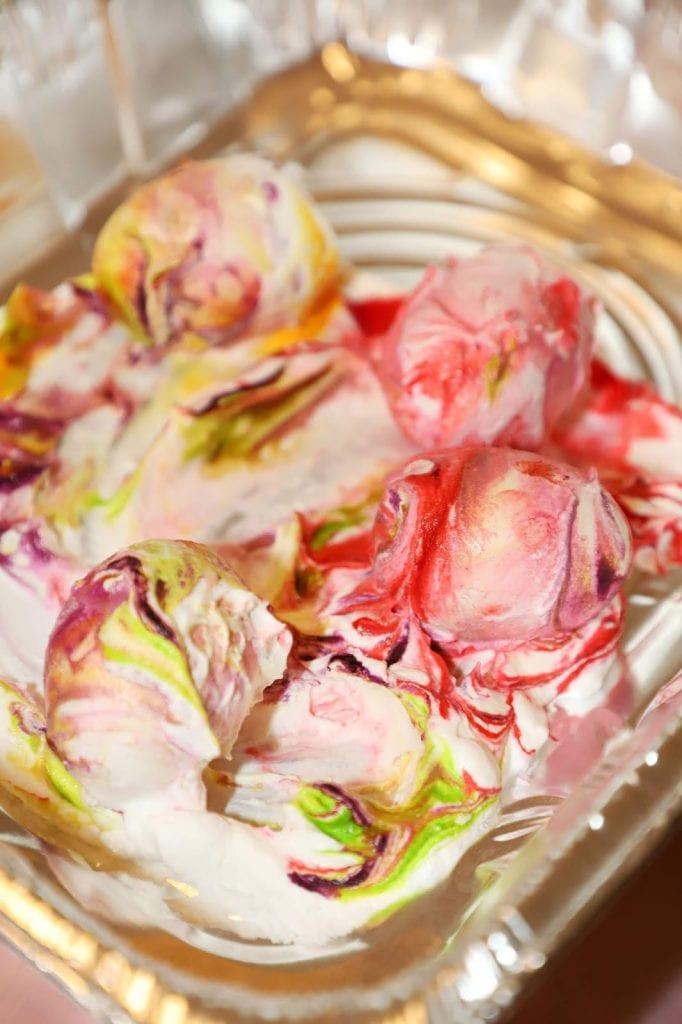
Place in the fridge for 30 minutes.
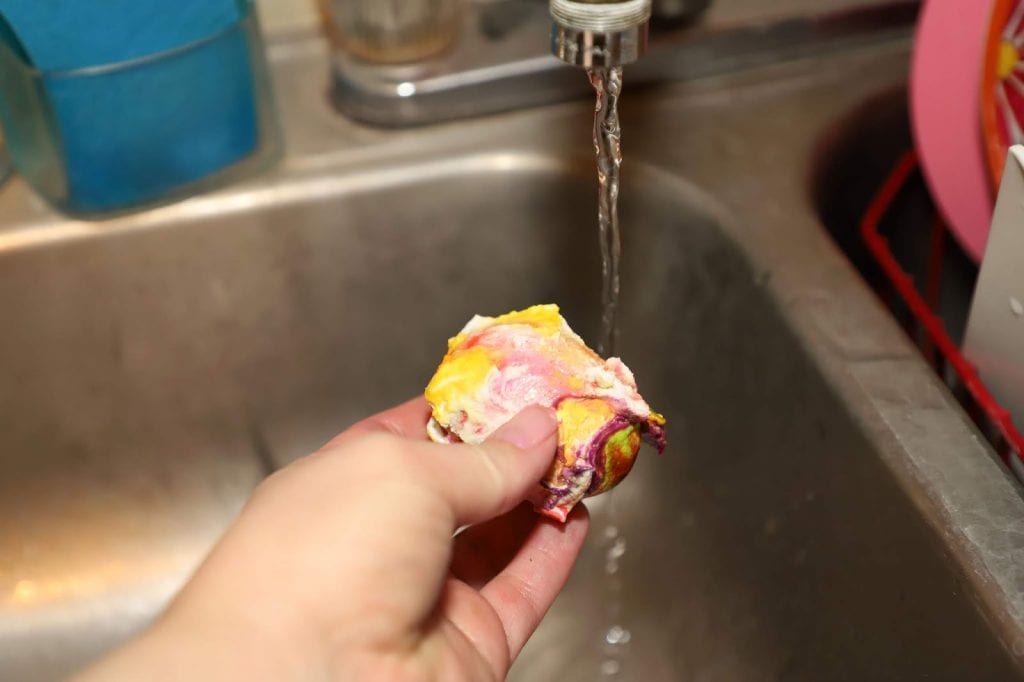
Rinse the eggs.
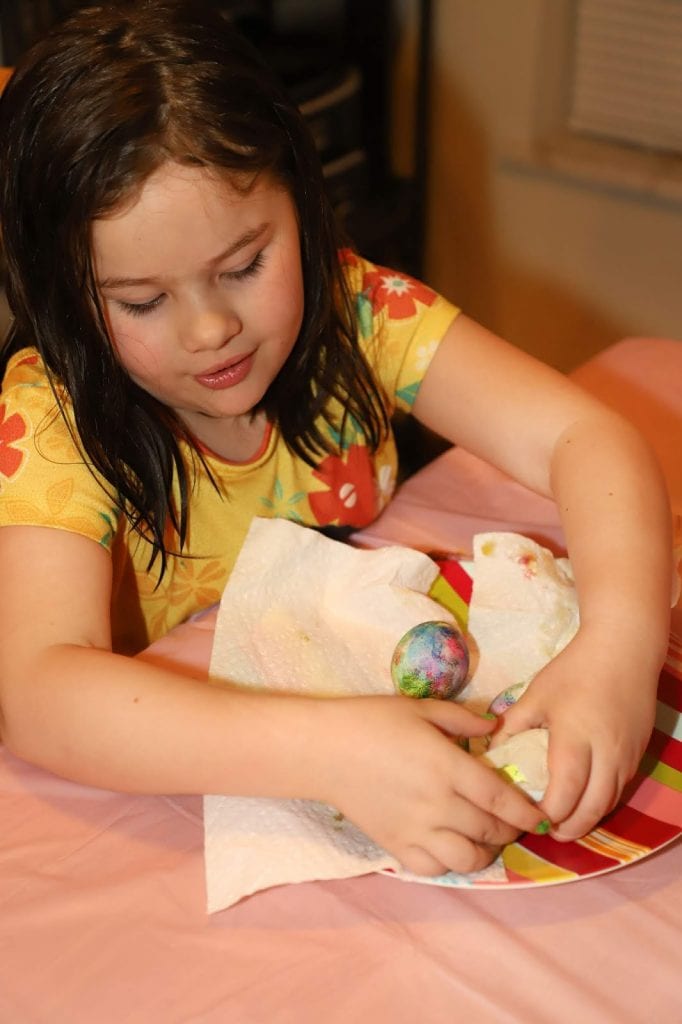
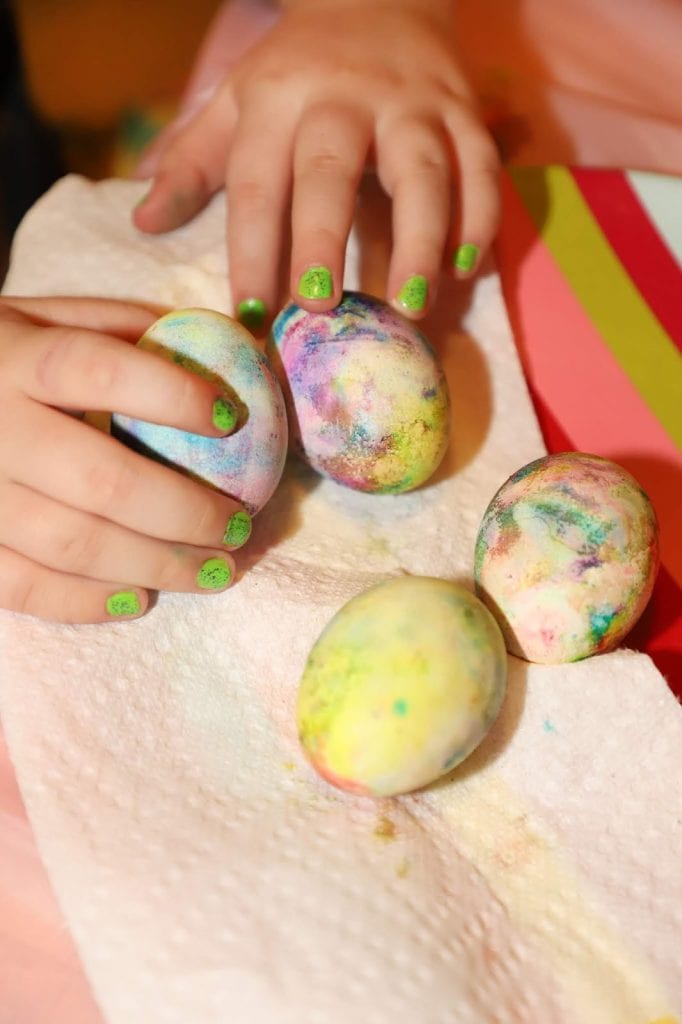
Wipe off excess with paper towels.
Let dry completely.
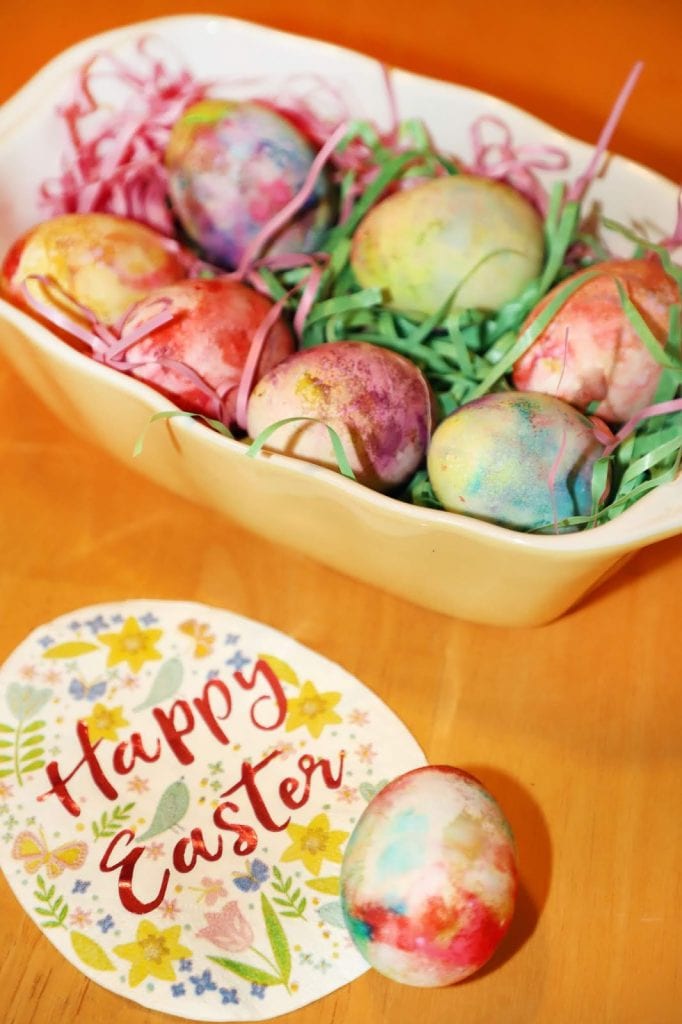
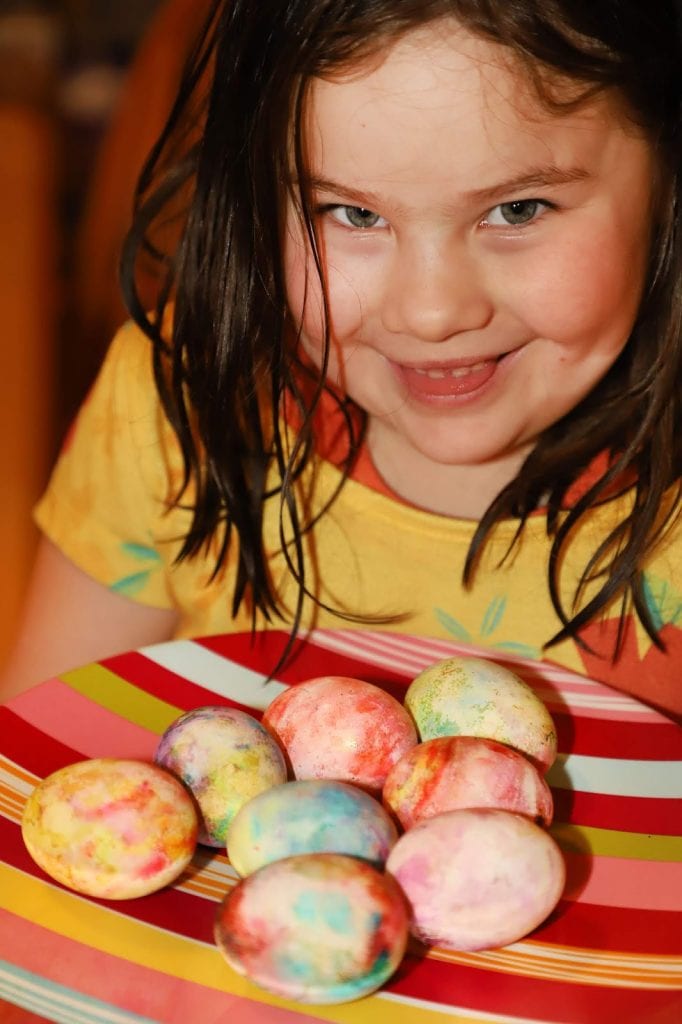
Display and enjoy. They are also food safe and fun to eat!


this looks like a fun activity to try with kids and family!
We didn't have a chance to dye our Easter eggs this year so we just grabbed some plastic eggs for our hunt. However, the whole dying experience is something I want my kid to enjoy every year. We will be doing our late, but just as fun, dying later this week. I love the whipped ideal and will be borrowing it.
omg how cute is this! I remember making some easter eggs like these when i was younger, i loved it <3
Tye dyed eggs are fun! It's been a long time since I've decorated Easter eggs.
me and my granddaughter made these years ago and she loved it.We will be making them again this year along with our 4 year old grandson.My granddaughter loved eating the left over whipped cream.Thank you for posting this