

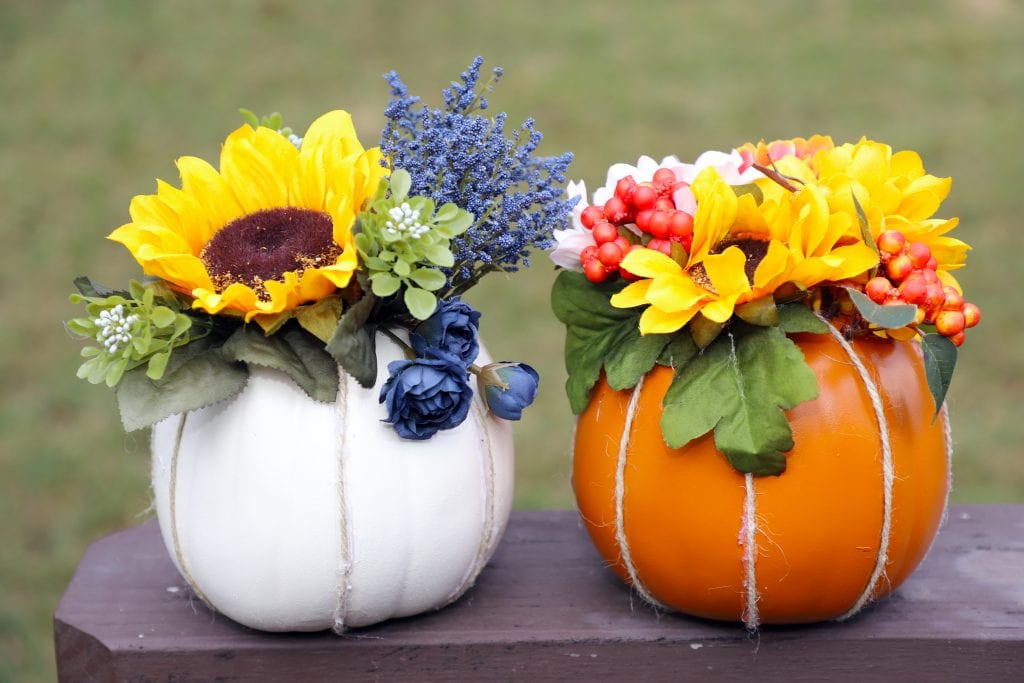
These beautiful and fun to make DIY Fall Floral Pumpkins are the perfect fall craft to make at home!
The girls and I visited our local Michael’s store this month for their weekly free craft day.
They were making decorated pumpkins and we had the best time designing these beautiful fall floral pumpkins together.
Scroll down for photos from our craft day and our finished pumpkin creations!
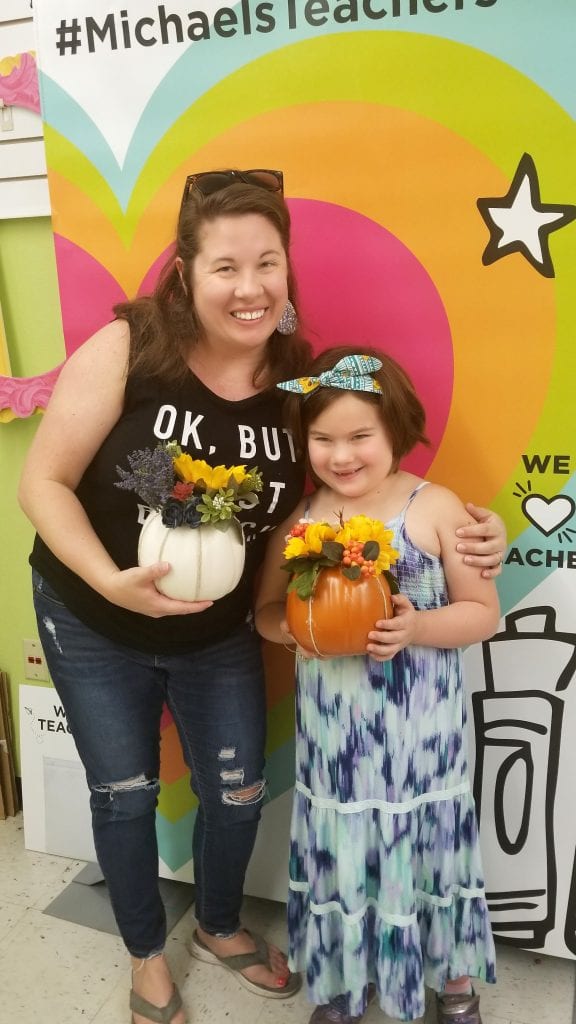
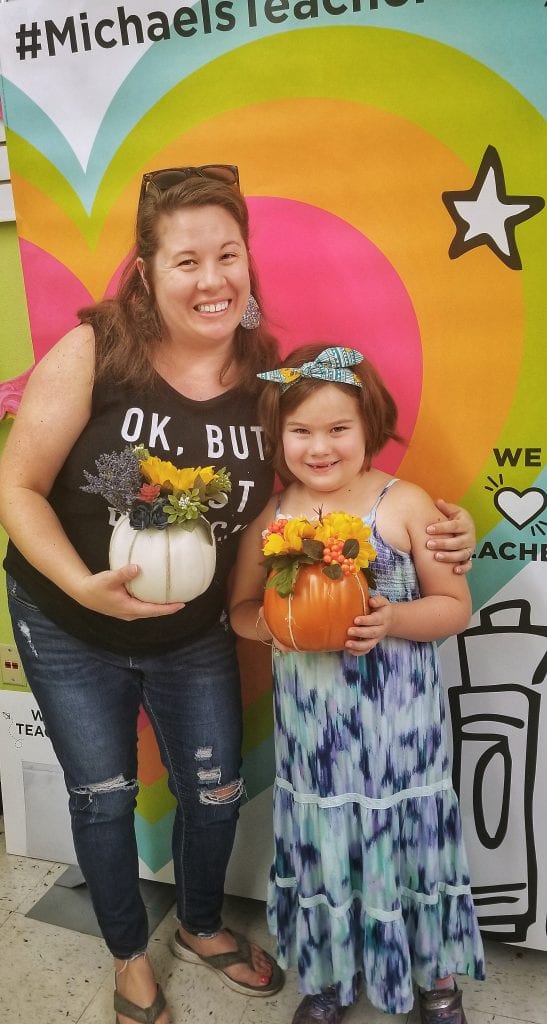 My crafty girl Ava and I with our pretty pumpkins!

 What you need:
- 2 foam craft pumpkins (we used 6.5″ pie pumpkin size)
- Assorted artificial fall stems, leaves, and flowers
- 1 spool natural colored jute cord or twine
- hot glue gun
- wire cutters
- Probe or piercing tool (optional for poking holes)
Directions:
- Measuring from the top of the pumpkin to the bottom, cut 6-8 equal pieces of cord.
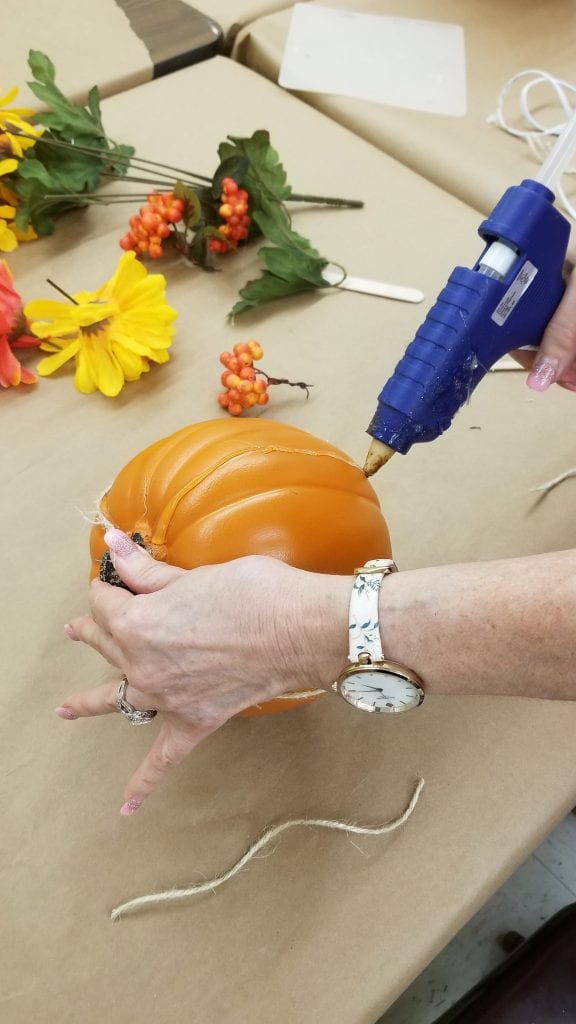
- Using a hot glue gun, glue the cord in lines down the pumpkin. I did every other indention or so.
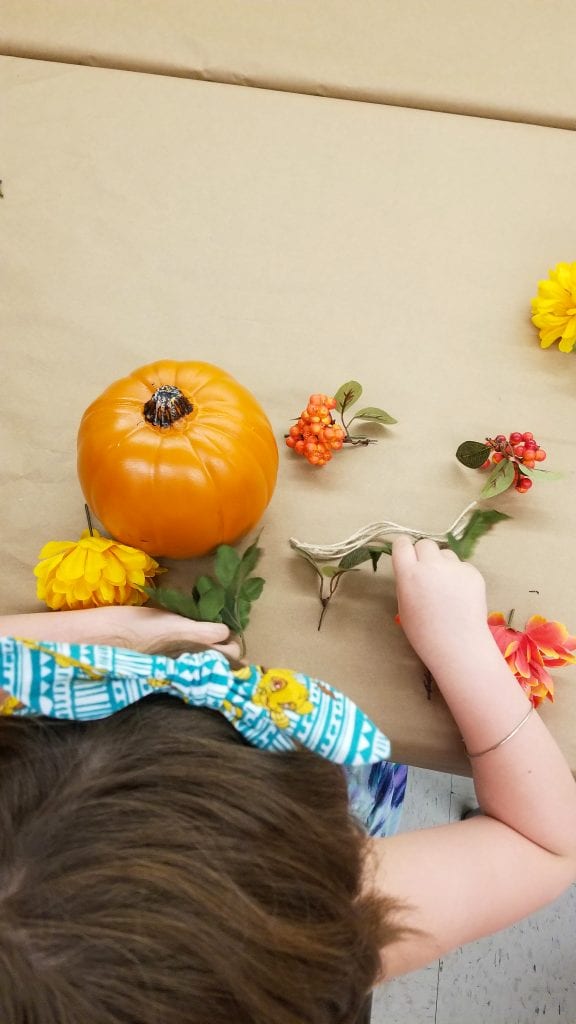
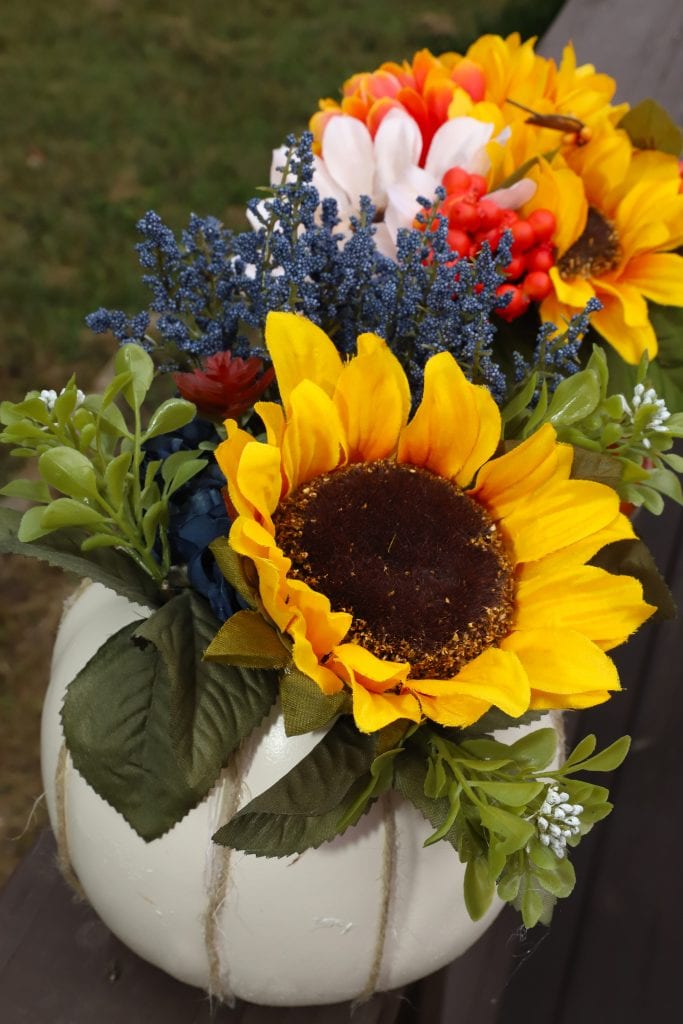
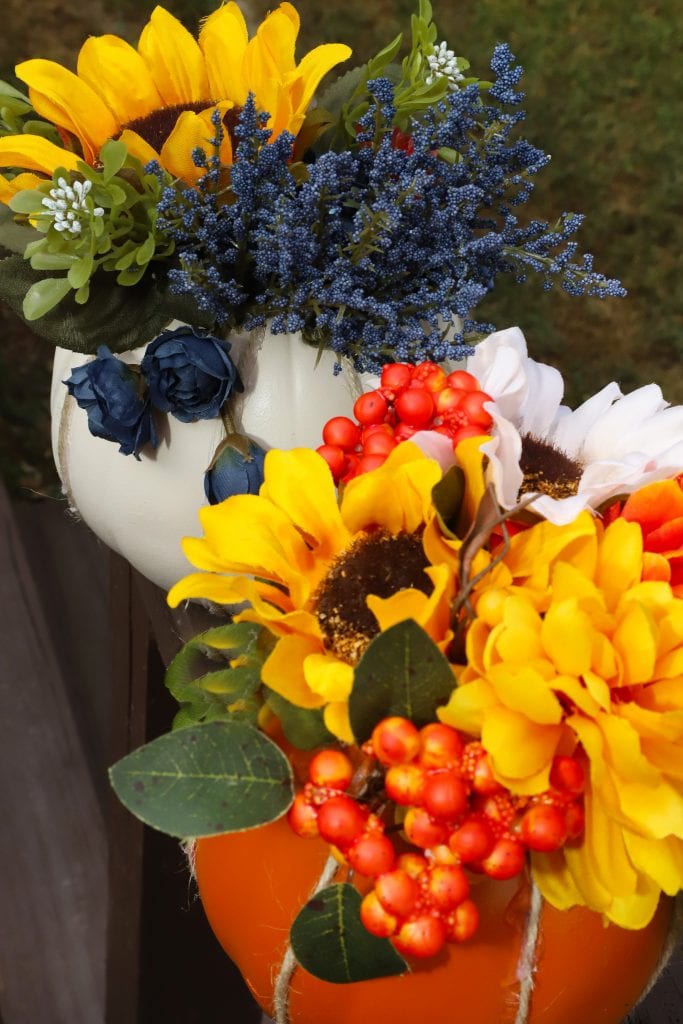
- Next choose an assortment of colorful fall flowers. Cut off the stems using wire cutters.
- You can either glue the flowers directing on top of the pumpkin or using a sharp tool like a probe to poke holes around the top and push the flower in the pumpkin top.
- Fill in open spaces on top of the pumpkin by gluing leaves, berries, and small flowers.
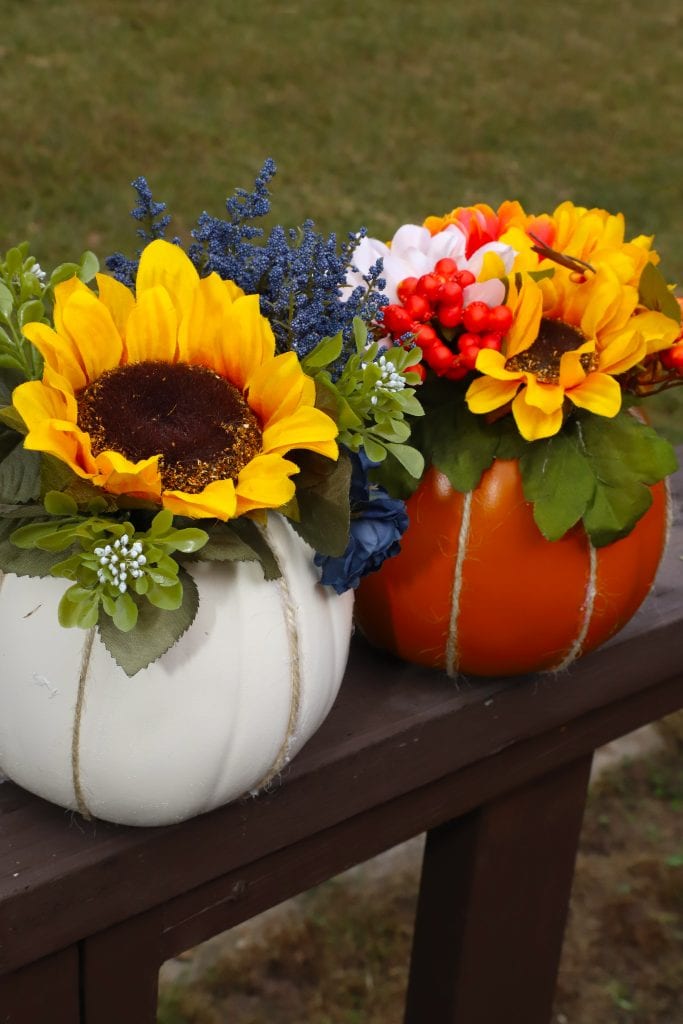
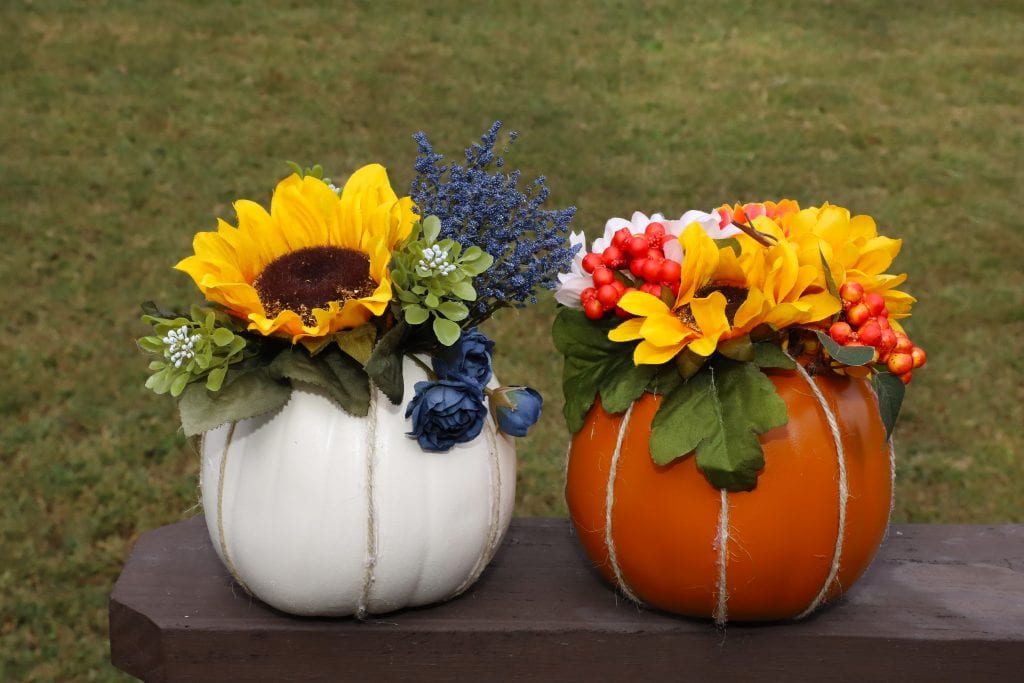
- All done! These pumpkins are beautiful as centerpieces and mantel decor.

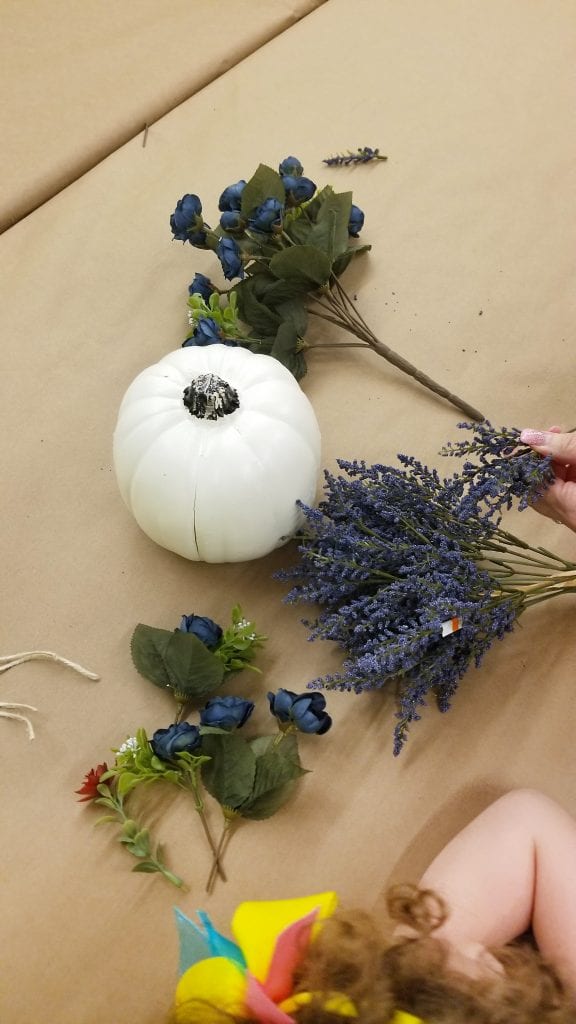
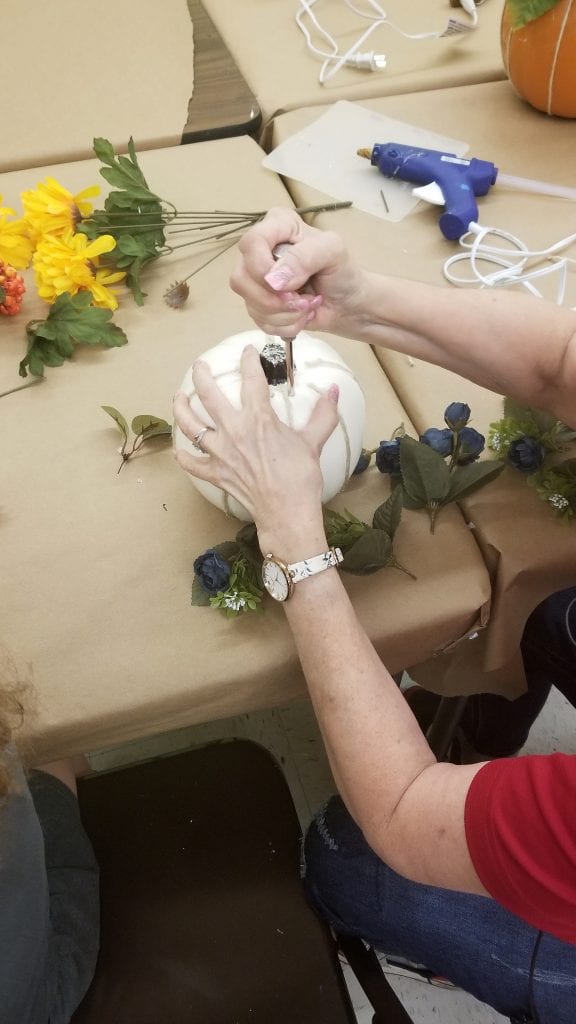
Start by gathering all your tools and craft items.
We used a pie pumpkin sized craft pumpkin, one white and one traditional orange.
 Measuring from the top of the pumpkin to the bottom, cut 6-8 equal pieces of cord.
Using a hot glue gun, glue the cord in lines down the pumpkin. I did every other indention or so.

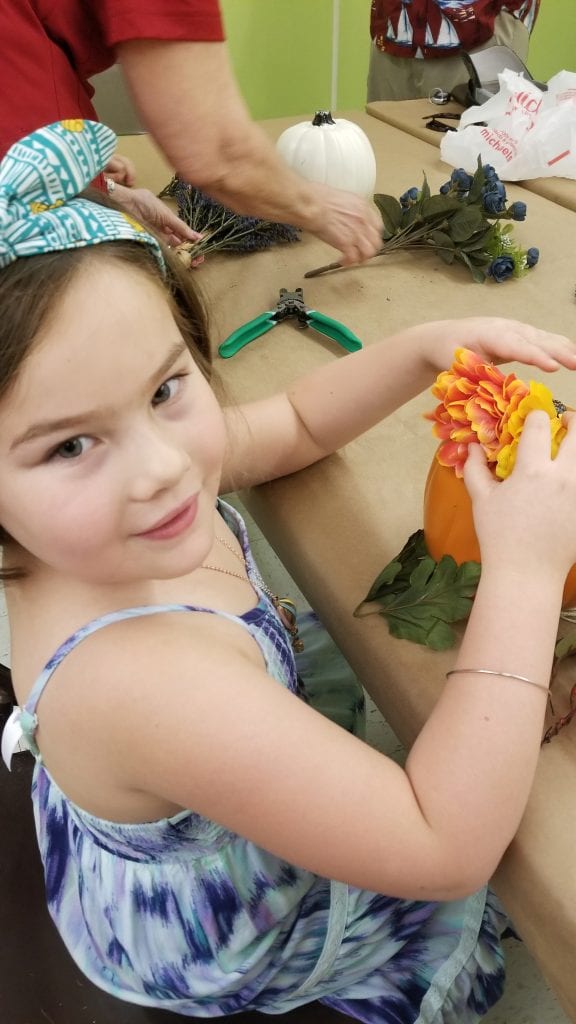
Next choose an assortment of colorful fall flowers.
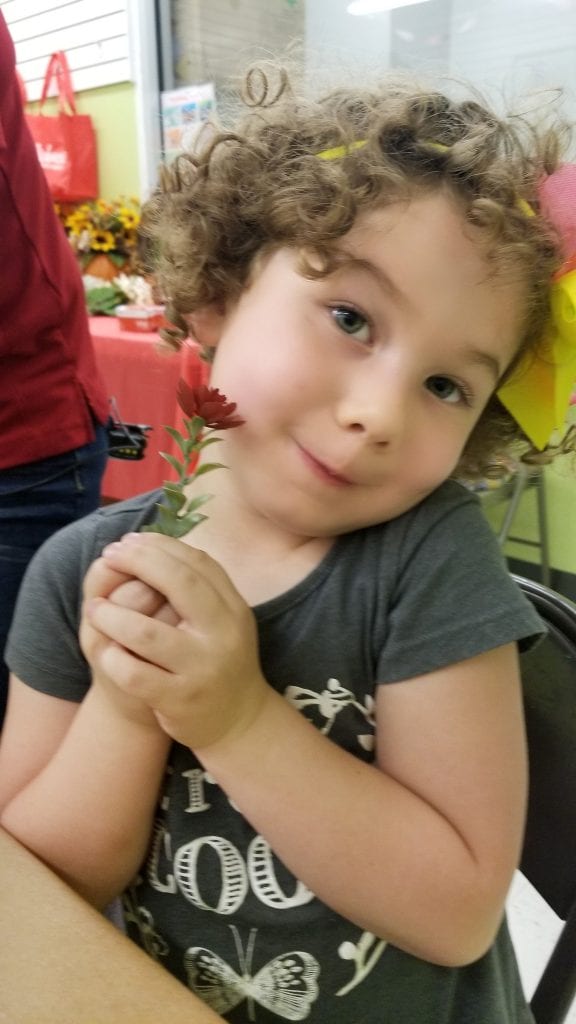
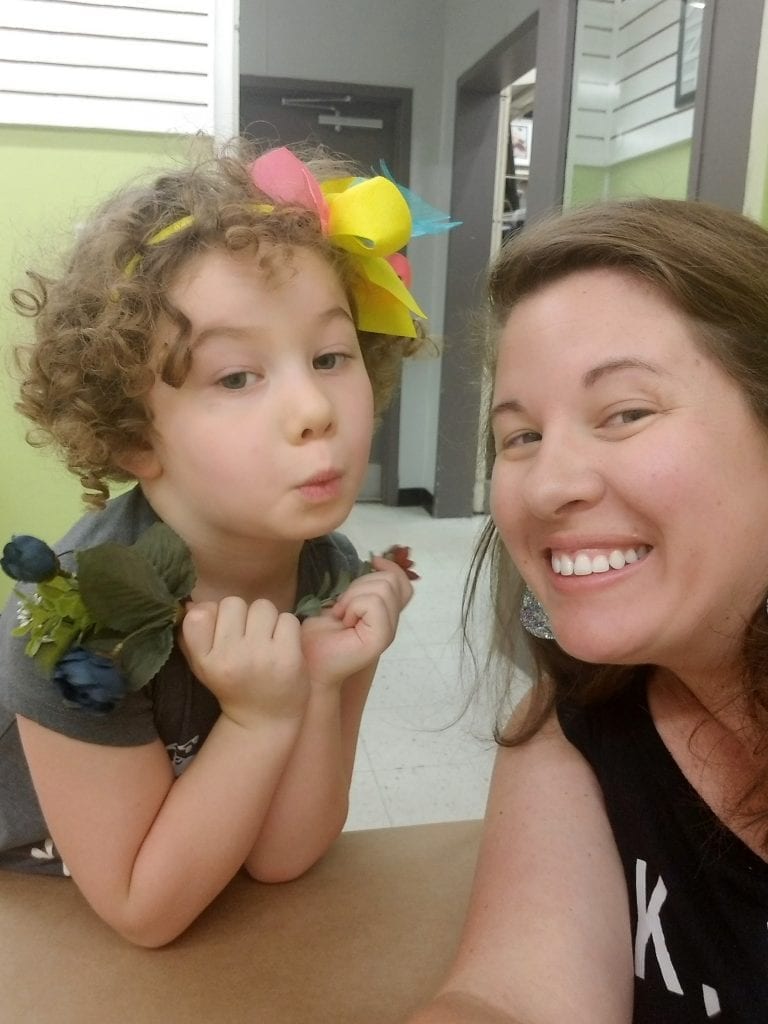 This child! She always makes me laugh!
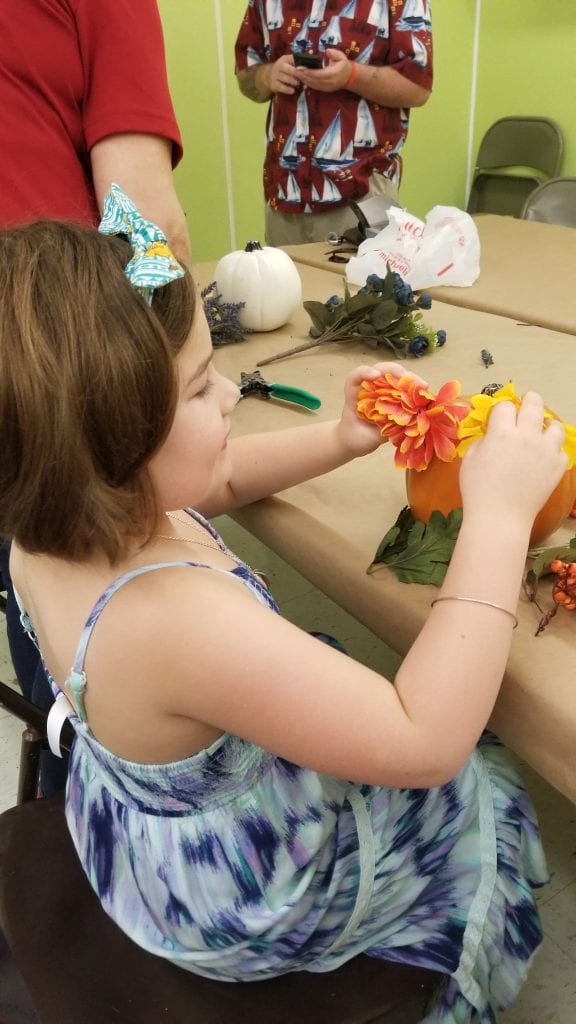


Leave a Reply